ViPlex Express has different workflows for PC-driven playback and content sent to a multimedia player. Identify which one your installation uses before following a publishing tutorial. A visible laptop preview, a successful transfer and the correct content on the physical LED display are separate checks.
This guide compares the workflows documented in NovaStar’s official Studio Mode V3.0.4 manual and Async Mode V3.0.4 manual. These are the versions checked, not a claim that they are the newest release. Use the official NovaStar download center and your installed version’s help for the matching package and instructions.
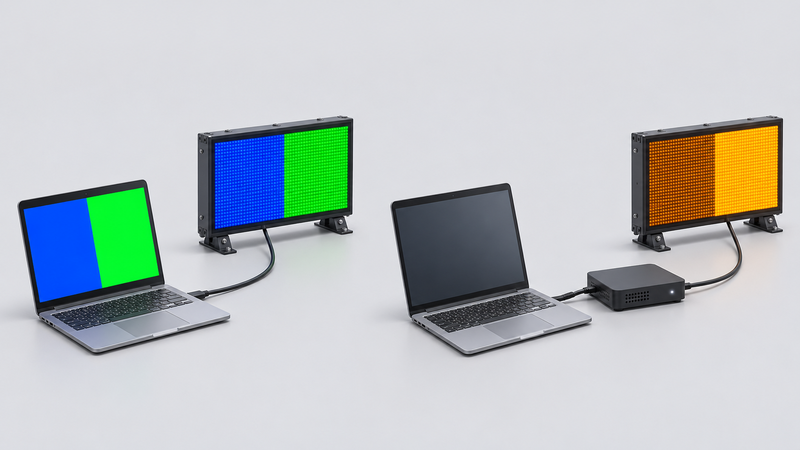
Compare Studio and Async by the playback source
| Question | Studio mode | Async mode |
|---|---|---|
| Where does the solution play? | From ViPlex Express on the Windows PC, with output on the connected display. | On the multimedia player after the solution is sent and stored there. |
| What should you identify first? | The correct PC display output and playback window. | The intended player, its connection and the target screen. |
| What should you verify afterwards? | The physical display, not just the editor preview. | The selected destination and actual playback, not just transfer completion. |
The first row summarizes the manuals; the other rows are practical verification questions. A processor or player model name alone should not substitute for tracing your actual signal path. Ask the installer which device currently supplies the image if that is unclear.
Prepare the destination and canvas before publishing
For an async workflow, the checked manual describes connecting the PC and players through a supported connection and logging into the intended screen. Its regular-screen instructions call for obtaining the screen resolution before creating the solution. Use the installed screen’s pixel dimensions rather than guessing from its physical width or a “P3” label.
Keep a short job note with the player identifier, confirmed canvas dimensions, installed software version, content revision and approved publication time. Those are suggested handover fields, not details collected from a customer system. If two screens have similar names, resolve their identities before selecting a destination.
For a separately commissioned processor setup, see our P3 video-processor setup guide. Changing an artwork canvas is a different decision from changing how receiving cards or cabinets are mapped; do not overwrite a working hardware configuration to fix an unexamined content-size mismatch.
Publish a small test solution to the intended screen
In the checked async manual, a solution must contain media and cannot contain empty pages. The documented sequence is to open the solution’s publishing dialog, refresh the logged-in screen list, select the intended destination and publish. Consult the matching manual if your interface differs.
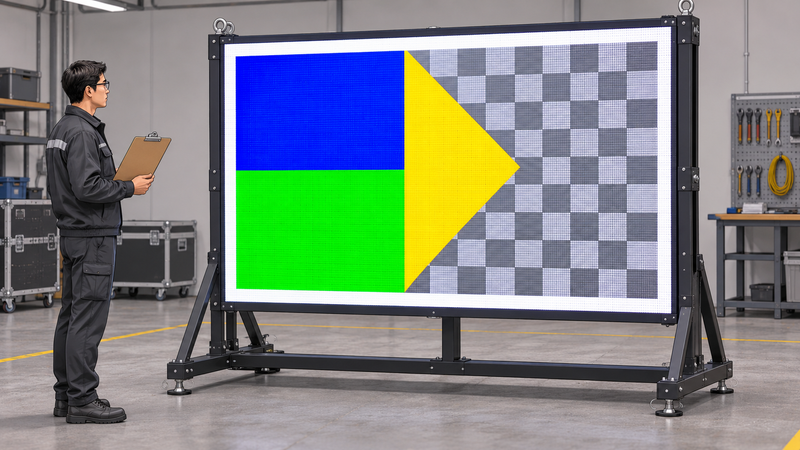
Start with content that makes mistakes easy to see. One suggested test is a still image with a complete outer border, four distinguishable corners and a large center label. This is an editorial test design, not a NovaStar requirement or a report of our own hardware test. Use a scheduled test window and keep the previously approved content available for restoration.
Compare transfer status with actual display output
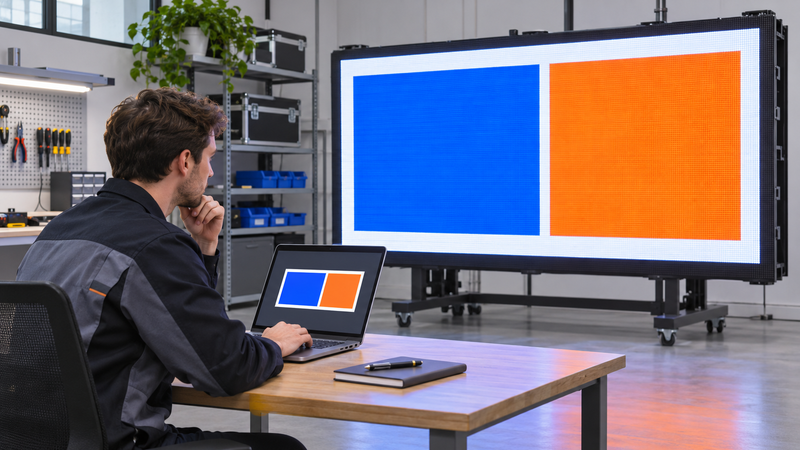
After publishing, check the real display: are all edges visible, are the corners in the intended positions, and is the chosen revision playing on the correct screen? Then check the actual media and schedule you intend to use. A simple still image cannot establish that a video, font or timed sequence will behave identically.
The async manual identifies a Media Check field for files that exceed specification limits. Follow the reported issue and the player-specific documentation instead of assuming that a filename extension guarantees compatibility. Keep the content file and the error message together when asking for support.
Keep troubleshooting changes small and recorded
If the target is missing, investigate the connection and identity first. If transfer fails, preserve its message before retrying. If the wrong image appears, compare destination, revision, canvas and schedule before changing unrelated settings. Record one change at a time so you can tell which action affected the result.
Software content publishing does not by itself answer every signal-chain question. Our genlock-versus-low-latency comparison covers a separate timing decision. This guide neither establishes universal device compatibility nor substitutes for the installation’s model-specific commissioning records.