Quick answer
Specify an LED screen for a conference room from the seats and content, not from the empty wall. Measure the nearest and farthest viewers, list whether meetings show faces, slides, spreadsheets or whiteboards, size the image for far-seat readability, then choose pixel pitch for near-seat detail. Confirm aspect ratio, platform scaling, glare, on-camera behavior, cooling, power and service access with a room-specific demonstration.
- Measure first
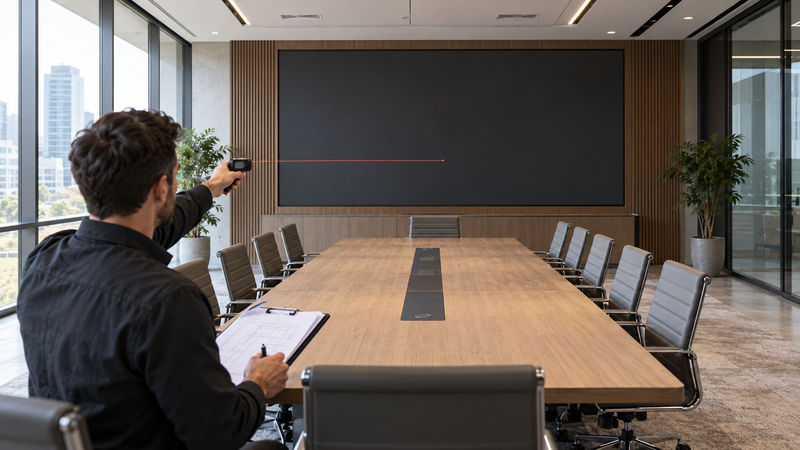
- Room width and depth, nearest and farthest eyes, table centerline and mounting area.
- Far-seat question
- Can the smallest required content be read without leaning forward?
- Near-seat question
- Are pixels, seams or processing artifacts distracting at the closest seat?
- Platform question
- Does the actual 16:9, dual-screen or 21:9 layout render correctly?
- Infrastructure question
- Are power, heat, structure, control and service access documented?
Start with the room and meeting workflow
Write down what the room must do before requesting a display quotation. A boardroom that shows spreadsheets and engineering drawings has a different readability need from a room used mainly for remote faces. A training room may need presentation content and a camera view at the same time. An executive room may prioritize a wide Front Row layout.
Microsoft’s current Teams room planning guidance ties front-of-room display selection to room width, depth, visibility and content. It also distinguishes a single 16:9 display, dual 16:9 displays and a 21:9 display for different layouts. That is a workflow decision, not a reason to buy the widest wall available.
Record the table orientation, camera position, doors, windows, lights and any traditional whiteboard. If the screen is off-center or too high, a larger image may still be uncomfortable. Test the centerline against seated eye positions rather than judging from the doorway.
Size for the farthest seat, not the wall
The useful image must make the required content legible from the farthest seat. The 2026 AVIXA display image size standard description separates basic and analytical decision-making content and relates image size to viewer positions. A video face, a slide headline and a dense financial table do not impose the same task.
Microsoft provides example display sizes for several farthest-seat distances, but use them as planning references rather than universal LED-wall dimensions. Measure the visible content area after the meeting interface has taken its share of the screen. Then display representative files at the planned scaling and ask people at the farthest seat to read the smallest information that must remain usable.
| Input | Record and test |
|---|---|
| Nearest seat | Eye distance to the active image; inspect pixel structure and camera artifacts. |
| Farthest seat | Eye distance and angle; test the smallest required text and chart detail. |
| Content mix | Remote faces, slides, spreadsheets, dashboards, whiteboards and local video. |
| Interface area | How much of the wall remains for shared content after gallery, chat or controls. |
| Sight lines | Check every seat, not only the center chair or the installer’s standing position. |
Use our LED display viewing-distance checklist to turn those measurements into a repeatable review rather than a remembered estimate.

Choose pixel pitch from the nearest seat and content
Pixel pitch is the center-to-center distance between adjacent LED pixels. A smaller pitch raises pixel density and normally supports closer viewing, but it also affects cost and system design. It should not be selected from the room name alone.
Planar’s viewing-distance guide explains several estimation methods and also states that comfortable distance is subjective and affected by eyesight, content resolution and content type. Use a rule of thumb to shortlist products, then view the exact pitch with representative content from the nearest seat.
For analytical content, check thin lines, small fonts and adjacent colors. For video meetings, check skin tones, low-brightness gradients and the wall through the actual room camera. A pitch that looks acceptable in a showroom video may behave differently with your processor, camera shutter and lighting.
Match geometry to the meeting platform
Agree the active pixel dimensions and aspect ratio before selecting cabinets. A 16:9 wall maps naturally to common Full HD and 4K sources. A 21:9 wall can support a wide collaboration layout, but only when the room system and content workflow are designed for it. Dual 16:9 displays may separate people and shared content, yet they introduce a physical division and platform-specific behavior.
Microsoft’s guidance recommends 21:9 for Front Row in applicable signature rooms, while a large single 16:9 or dual 16:9 arrangement can support Gallery. Do not stretch a 16:9 presentation across a custom-wide canvas without defining scaling, cropping or unused areas.
Control glare without overspecifying brightness
A conference room needs enough image contrast for its ambient light, not maximum brightness at all times. Excessive luminance can be uncomfortable at close distance and can make camera exposure harder. Measure or document windows, daylight direction, ceiling lights and wall reflections.
OSHA guidance on display glare notes that bright light and reflections can wash out screen images. Use blinds, lighting zones and non-reflective finishes where appropriate. Then check the LED wall at realistic day and evening settings and confirm useful dimming range, not only peak output.
The final value still belongs in the room-specific acceptance test.
Check cameras, processors and signal behavior
When the LED wall appears behind speakers or participants, conduct a camera test. Look for visible scan lines, moiré, banding, color shifts and exposure changes. Record the actual camera, frame rate, shutter setting, LED refresh configuration, brightness and processor path used during the successful test.
Also verify startup, source switching and recovery after sleep. Microsoft’s Teams Rooms operations guidance describes native-resolution scaling and notes that display sleep/wake and EDID behavior can affect device health and stability. Confirm that the selected controller and room system maintain the expected signal state.
Do not certify camera performance from a refresh-rate number alone. Request an on-camera demonstration with the intended configuration and keep the resulting settings in the commissioning record.
Plan power, cooling and service access
Direct-view LED walls contain many active components and introduce heat. Microsoft’s room guidance explicitly tells designers to consider cooling and ventilation for LED walls and large displays. Ask for typical and maximum power, heat-load data, operating limits and the required clearances for the selected product.
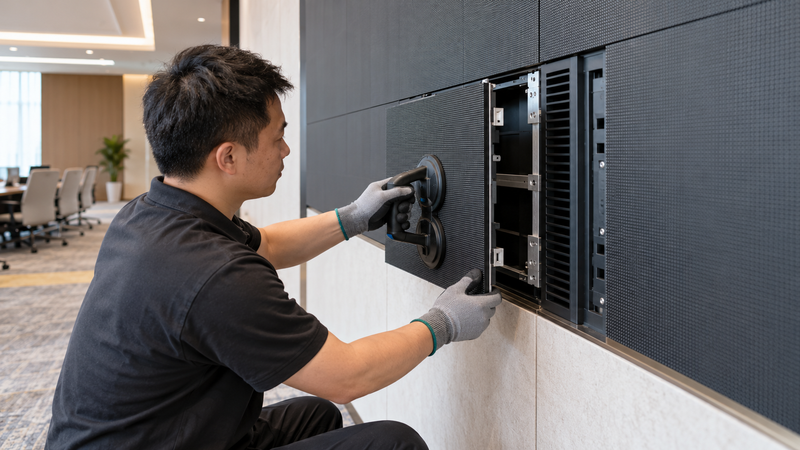
Decide whether modules, power supplies and receiving components are serviced from the front or rear. Front service can reduce the space needed behind a wall, but the mounting structure and removal path must still be engineered. Rear service requires safe access that remains available after interior work is complete.
Electrical circuits, structural attachment, fire requirements and thermal design should be reviewed by qualified professionals under the applicable local rules. A product brochure is not an installation approval.
Build a supplier-ready acceptance checklist
- Room drawing with nearest and farthest seat distances, centerline and mounting area.
- Representative content files and the smallest text or chart detail that must be readable.
- Required meeting layouts, aspect ratio, wall pixel dimensions and scaling behavior.
- Candidate pixel pitch demonstrated from the closest seat.
- Brightness and color settings tested under real room lighting.
- Camera test with recorded refresh, shutter and processor settings.
- Source switching, EDID, sleep/wake and recovery behavior.
- Typical and maximum power, heat data, ventilation and noise boundaries.
- Front or rear service method, removal path, spare parts and response process.
- Named acceptance criteria, responsible parties and evidence retained at handover.
Send the same input sheet to each shortlisted supplier so their proposals can be compared on the same room and content. The LED screen supplier checklist can be used for documentation, warranty and support questions after the technical scope is clear.
Questions about conference-room LED screens
What size LED screen is best for a conference room?
There is no universal diagonal. Measure the farthest seat and test the smallest content that must be read after the meeting interface is visible. Also check sight lines and the usable wall area.
What pixel pitch is suitable for a meeting room?
Choose a shortlist from the nearest viewing distance and content detail, then demonstrate the exact pitch with representative slides, spreadsheets and video. A smaller pitch is not automatically the best-value choice.
Is 16:9 or 21:9 better for a conference room?
It depends on the meeting platform and layout. Standard 16:9 works with common video content; dual 16:9 can separate people and content; 21:9 can support applicable wide Front Row layouts. Verify the exact room-system behavior.
Can a conference-room LED wall appear on camera?
Yes, but on-camera quality depends on the LED system, processor, refresh configuration, camera shutter, frame rate, brightness and shooting distance. Require a test with the intended equipment and keep the working settings.