Modular LED display panels are repeatable display units assembled into a larger screen. Before buying or adding stock, establish exactly what the supplier calls a “panel”: a complete cabinet, a replaceable LED module, or another assembly. Then verify the mechanical, pixel, control, and service interfaces. A matching external size is not enough to approve a replacement.
The procurement task is to identify a supported system, not simply collect square units that appear similar. Record the manufacturer, full model and revision, cabinet resolution, receiving hardware, configuration files, and approved accessories. Use the same identifiers in the quote, packing list, test record, and spare-parts schedule.
Define the unit before comparing modular panel quotes
Ask what is included in each priced unit. Does it contain the power supply and receiving hardware? Are cables, locking hardware, protective corners, and service tools included or separate? Which parts can be replaced, and which require a different assembly? A quote for a bare display board cannot be compared directly with one for a complete ready-to-configure cabinet.
Request a drawing and a labeled bill of materials. Keep the display face, cabinet frame, control components, and support accessories distinct. If a vendor uses “module” and “panel” differently from your team, settle the wording in the order rather than assume the terms identify the same component.
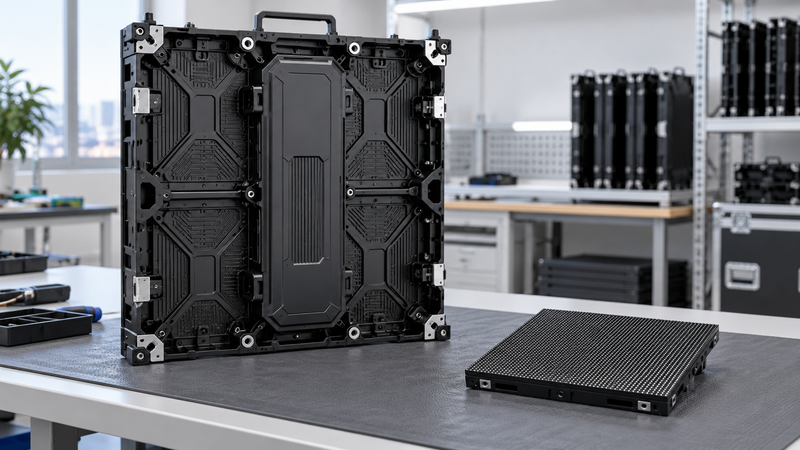
Check physical size and native pixels separately
A useful model-specific reference is ROE Visual’s BP2V2 specification: it lists a 500 × 500 mm panel face and a native resolution of 176 × 176 pixels. Those values describe that product; they are not specifications for every 500 mm cabinet or an offer of that model from this website.
For an illustrative rectangular wall using six of those panels across and four high, the active face is 3 × 2 m, while the native canvas is 1,056 × 704 pixels. That is 743,424 pixels in total. This arithmetic is geometry only: it does not establish processor capacity, acceptable camera performance, power distribution, or a structural design.
Use the published cabinet pixel count when available rather than reverse-engineering it from a rounded pitch label. If the proposed replacement has a different native resolution, the canvas and mapping need review even if its outer dimensions look familiar. Record the exact revision as well as the family name.
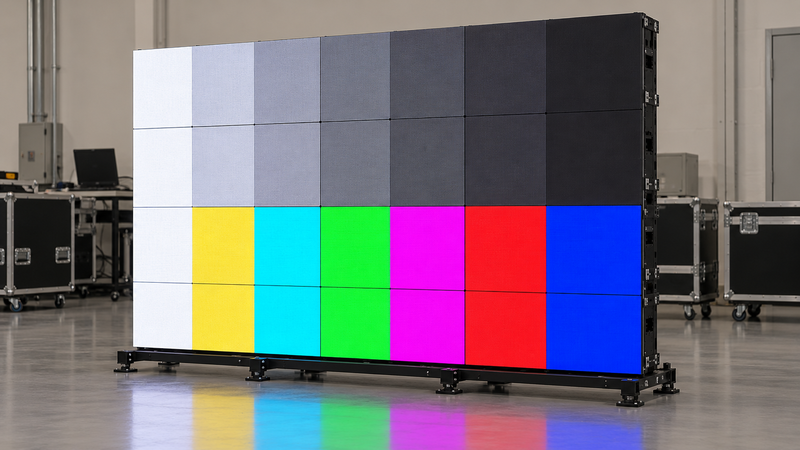
Verify the control system instead of assuming plug-and-play
Identify the processor, receiving hardware, supported firmware, fixture definitions or configuration files, and intended operating mode. Brompton’s Tessera fixture-association documentation describes detected, compatible fixtures and their placement on the canvas. It also describes strings containing multiple fixture types. That is a documented system workflow, not proof that arbitrary cabinets from different suppliers are compatible.
Feature support needs a separate check. For example, Brompton’s Studio Mode documentation explicitly says that not all LED panels support that feature. A familiar processor brand or an identical connector shape is therefore insufficient evidence for every advertised capability.
Ask the supplier to identify the supported combination in writing and demonstrate it with the intended configuration. Have qualified personnel plan power, connections, and any suspended or ground-supported installation. The mechanical and electrical manuals govern those decisions; this checklist is not an installation procedure.
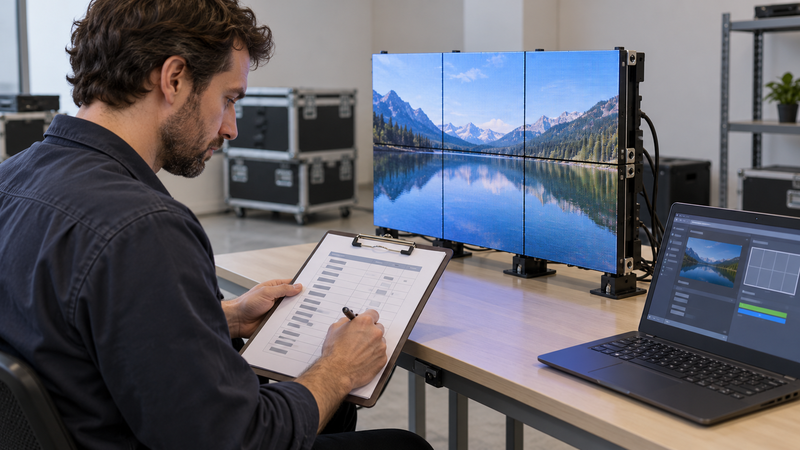
Accept stock and spares as an identified system
| Check | Record to keep |
|---|---|
| Mechanical fit | Exact model/revision, dimensions, lock interface, and approved support accessories |
| Native image | Pixels per cabinet, panel layout, orientation, and complete canvas |
| Control | Processor/receiver combination, software and firmware versions, and saved configuration |
| Visual match | Representative gray, white, color, and intended-content tests at agreed operating settings |
| Spares and service | Part numbers, compatibility approval, calibration handling, service method, and replacement test |
Agree on the test procedure and acceptance limits before delivery. Photograph identifiers and keep a copy of the working configuration. Test an approved spare through the documented replacement process, then inspect mapping and visual match again. A powered image alone does not demonstrate all the conditions in the purchase agreement.
For the wider system design, see stage screen planning.
Questions about modular LED display panels
Can I mix panels because they are both 500 × 500 mm?
Do not approve mixing from that dimension alone. Check the exact model, revision, mechanical interface, native pixels, control support, and visual match with written manufacturer confirmation.
Is a module the same as a complete cabinet?
Not necessarily. Suppliers use these terms differently. Define the assembly and included components in the quotation and bill of materials.
Does modular mean a screen can be any shape?
The approved cabinet geometry, support hardware, controller workflow, and manufacturer instructions constrain the result. Modularity is not permission to improvise a curve, overhead assembly, or support system.
Can I order spares later by matching only the pixel pitch?
Pitch alone does not identify the required part. Keep the original part number, revision, control configuration, and calibration requirements, then verify the supplier’s approved replacement.