Quick answer: On a direct-view LED display, what users call burn-in is often differential aging: LEDs that repeatedly show a bright fixed logo, background or color lose brightness or color differently from neighboring areas. Confirm the outline across known content and supported solid-color test patterns, record operating history and brightness settings, and involve the manufacturer or integrator before calibration or parts replacement.
A faint logo after the content changes is a useful symptom, but it is not a complete diagnosis. A content-layer error, stuck pixels, a mismatched replacement module and uneven aging can look similar from a distance. They require different responses. Starting with a “screen repair video” or a calibration slider can hide evidence and create a second problem.
The search phrase “LED display burn in” is widely used, but a service record should replace that broad phrase with the observed pattern, test content and affected region.
This guide addresses modular direct-view LED walls and signs. It does not treat an LED-backlit LCD television as the same product. Product manuals and support instructions for the installed controller, receiving system and modules remain authoritative.
The first mistake: burn-in is not one diagnosis
| Observation | Likely area to test | What it does not prove |
|---|---|---|
| A faint fixed-logo outline remains across different content | Differential aging or calibration; compare supported solid colors and gray | That the media player is definitely faulty |
| The outline disappears when the source or layer is disabled | Content, keying, overlay or processor configuration | Permanent LED aging |
| One or several pixels stay one color | Pixel, module, signal or driver fault | A whole-screen burn-in pattern |
| One replacement module is brighter or a different color | Module matching and calibration | That all surrounding LEDs are permanently damaged |
Use precise words in the service ticket. “Persistent rectangular brightness difference visible on red, green, blue and gray patterns” is more useful than “the wall is burned.” A photograph should include the whole wall, the displayed test field and the camera settings or exposure lock when possible.
What LED display burn-in usually means on direct-view LED
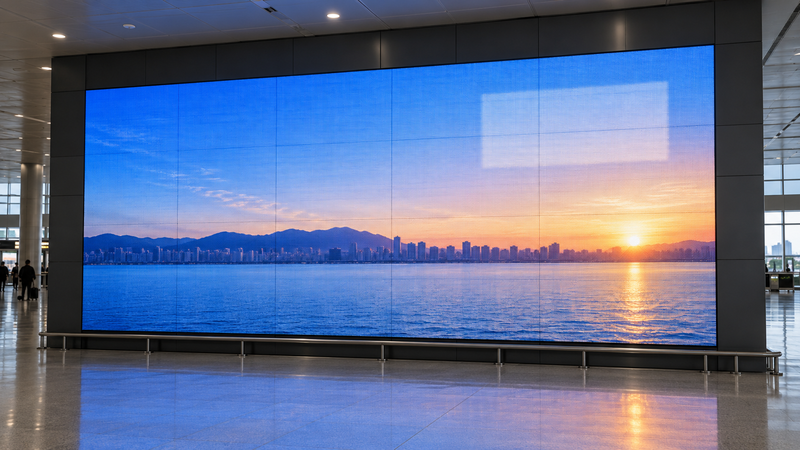
Daktronics describes visible outlines on LED displays as uneven or differential aging. If the same bright content remains in one location for long periods, some LEDs can lose brightness faster than others. Heavy use of one color can also make that channel fade differently. Viewers may call the result ghosting, image retention or burn-in even though the physical mechanism and recovery options differ from other display technologies.
That distinction matters because direct-view LED is made from many light-emitting pixels and modules. A fixed white panel stresses red, green and blue channels together; a saturated logo may emphasize one channel. Runtime, drive level, temperature, content distribution and the particular product all affect the outcome. There is no single number of hours after which every LED wall develops a visible outline.
A safe diagnostic sequence
Stop before testing: If there is smoke, a burning smell, abnormal heat, water ingress or a breaker or other protective device has tripped, stop testing and follow the site’s emergency and isolation procedure. Have qualified personnel assess the equipment. Do not open an energized cabinet or make wiring or connection changes while equipment is live.
- Preserve the evidence. Save the current playlist, processor configuration and reported symptom before changing settings.
- Remove content variables. Use a known supported source or built-in test pattern under the product’s documented procedure. Do not improvise service-menu access.
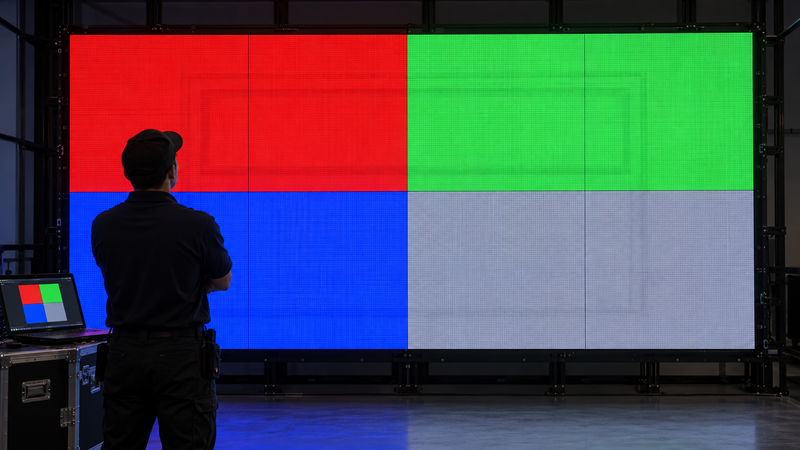
- Display test fields in sequence. When conditions and the product’s documented procedure allow, display each supported full-screen field one at a time: black or all-off, neutral gray, red, green, blue and white. Do not divide one screen into simultaneous comparison regions to judge the same pixels; record which full-screen fields reveal the outline.
- Check boundaries. Note whether the difference follows the old graphic shape, a module rectangle, a cabinet seam or signal region.
- Observe from the normal viewing position. Also take a closer service image, but do not let a close-up replace audience-distance acceptance.
- Return to normal content. Verify whether the same difference affects actual images and text.
Daktronics’ module-calibration guidance uses red, green, blue and white views to compare a discolored module with surrounding modules. That is evidence for a controlled comparison method, not permission to apply another product’s calibration steps to this display. Ask the manufacturer or integrator which patterns and tools are supported.
Read the pattern before choosing a remedy
If the outline has the exact shape and position of a long-running bright graphic and remains through independent test fields, differential aging becomes more plausible. If it disappears when an overlay, media player or processor layer is removed, investigate the content chain first. If the symptom is a few fixed dots rather than a broad shape, use the pixel-failure inspection guide to document the separate issue.
A checkerboard of bright and dim modules may point toward module age, replacement history or calibration. One discolored replacement module does not establish that the rest of the wall is burned in. Record module serials, service dates and calibration files if available, then compare them with the manufacturer or integrator.
Camera caution: Auto exposure, white balance, shutter timing and reflections can exaggerate or hide brightness differences. Lock relevant camera settings for comparison and confirm the symptom with the naked eye from the intended viewing area. A phone photo alone is not an acceptance measurement.
Prevent differential aging through content operations
Daktronics recommends changing images, logos, backgrounds and layouts rather than changing only the message inside an otherwise fixed design. Movement of one small item is not a universal safeguard if most of the screen remains bright and static. Large continuous white backgrounds deserve particular attention on LED displays, but other bright fixed colors can also contribute to uneven use.
- Rotate complete visual layouts, not only text inside one permanent frame.
- Change the position of bright logos and fixed information regions where the communication requirement allows it.
- Use the brightness recommended for the display and installation; do not copy a value from another wall.
- Schedule supported blanking, power-saving or lower-demand content when the display is not needed, following the product documentation.
- Log content schedules, brightness changes, operating hours and service events so future differences have context.
These steps reduce concentrated use but do not guarantee that uneven aging will never occur. A mission-critical price board, scoreboard or control display may require fixed information. In that case, include aging risk, spare strategy and periodic uniformity checks in the operating plan rather than pretending the content can always move.
When calibration helps and when it may not
Calibration can reduce some brightness or color mismatch between modules when the display and tools support it. The white-balance calibration checklist explains how to retain baseline records and verify the result. Calibration should not be described as physical restoration of LED output that has already aged differently.
Aggressively driving a dim area or reducing the rest of the wall without an approved plan can affect headroom, uniformity and future maintenance. Likewise, replacing only the visibly different modules may create new differences between old and new batches. Ask the supplier to state whether the proposed response is configuration, recalibration, module matching, content mitigation or component replacement.
Do not run flashing, high-brightness or long-duration “burn-in repair” sequences borrowed from another display technology. They may add operating stress and have no proven universal recovery effect for a direct-view LED wall.
What to include in a service handoff
- Display model, module or cabinet type, controller and current firmware/configuration identifiers.
- Date first observed, normal daily operating hours and recent brightness changes.
- The static regions, colors and approximate schedule used before the symptom appeared.
- Whole-wall photographs of normal content and approved test fields from a fixed viewpoint.
- A diagram marking the outline, affected modules or cabinet boundaries.
- Replacement-module history, calibration files and any recent processor or content changes.
- The practical acceptance threshold: viewing distance, content type and when the difference becomes objectionable.
Retain a clean baseline after commissioning and after major module replacement. The maintenance checklist can keep visual inspections, power and environmental checks in one record. Evidence makes later comparison more reliable than memory.
Questions about LED display burn-in
Is LED display burn-in the same as OLED burn-in?
No. The phrase is used loosely across display technologies. On direct-view LED, a persistent outline may be differential aging of individual LEDs or modules. Diagnose the installed technology and symptom instead of importing an OLED or LCD remedy.
Can a screen-cleaning video remove direct-view LED burn-in?
There is no universal cleaning video that restores differently aged LEDs. Use supported test content for diagnosis, then follow the manufacturer or integrator’s recommendation.
Does lowering brightness reverse uneven aging?
Lowering brightness may reduce future stress or make a difference less visible, depending on the product and operating plan, but it does not automatically reverse physical differential aging.
Can calibration fix a faint logo outline?
Calibration can address some correctable brightness or color mismatch. It may not restore LEDs that have aged differently. Confirm the pattern and the supported calibration scope before changing values.
Sources and limits
Manufacturer guidance checked October 29, 2026: Daktronics on ghosting and uneven aging, heavy use of one color and module discoloration and calibration. The diagnostic sequence and handoff checklist are editorial guidance. Product-specific manuals, safety procedures and qualified support take priority; no recovery guarantee or independent bench test is claimed.